Dialog Windows
v6 “Entry Points”
IViewManager allows displaying a predefined set of dialog windows built into SyrveFront. This capability is available to the plugin when SyrveFront hands over control to it during a modal operation by calling the corresponding method and passing an instance of IViewManager as one of the arguments. This object is relevant only within the method it is passed to and will be destroyed when the plugin returns control from that method.
Examples of modal operations:
- Call of the button click handler, added by the plugin in the “Add-ons” menu.
- Interaction with the payment type implemented in the plugin: the process of collecting data, processing, and refunding payments (see
IExternalPaymentProcessor) (see the article on External Payment Types API)
General Principle
The plugin calls the method and processes the result: var result = viewManager.ShowSomething(...). Depending on the signature of the specific method, the plugin will receive either a primitive type variable (bool, int, string), or an instance of one of the implementations of IInputDialogResult, depending on the semantics.
If the business logic requires validation of the entered value (for example, when entering a hotel room number, it is necessary to check that such a number exists in the hotel), the correct approach is as follows:
- the user closes the dialog window,
- the plugin validates the result,
- if validation fails, the dialog window is shown again.
For notifications that do not require explicit user response, it is recommended to use non-modal pop-up windows (see notification, warning, error), they do not require an instance of IViewManager, so they can be shown at any time.
Description of Available Capabilities
Dialog with One Button
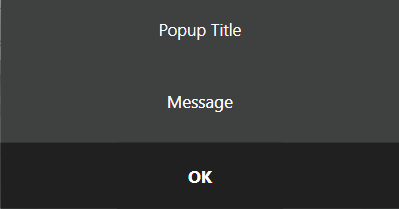
ShowOkPopup() displays a dialog window with a title, text, and an “OK” button that closes the dialog.
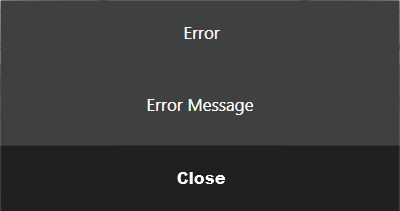
ShowErrorPopup() displays a dialog window with the title “Error”, text, and a “Close” button.
Dialog with Two Buttons “Yes”/”No”
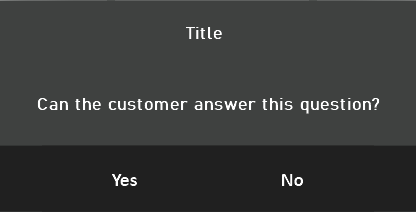
ShowYesNoPopup() displays a dialog window with a title, text, and two buttons and returns true if “Yes” is pressed.
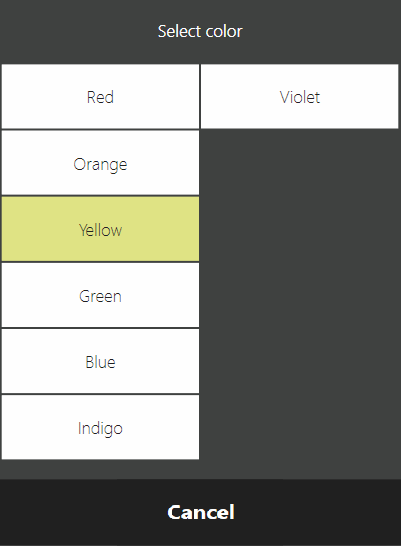
Item Selection Dialog from a List
ShowChooserPopup() takes a list of strings as parameters and optionally the index of the default selected item, and returns the index of the item selected by the user. It has a wrapper that takes a list of objects and a function to get the text representation of the object Func<T, string>, optionally a default selected item, and returns the item selected by the user. If no item was selected by the user (the “Cancel” button was pressed), it returns -1 or null. An optional parameter can specify the width of the buttons in the list. The narrower one button is, the more columns of buttons will fit on one page. By default, buttons have a width of ButtonWidth.Normal.
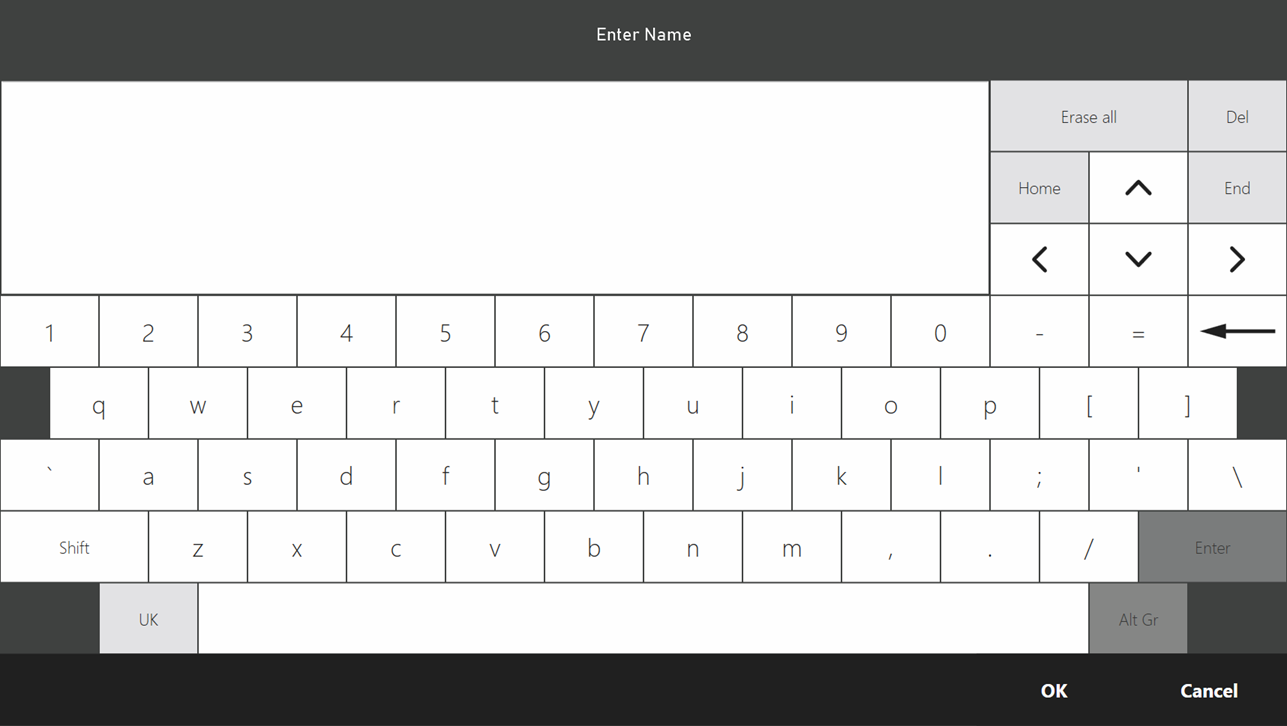
Dialog for Entering Arbitrary Strings
ShowKeyboard() displays a dialog window with an on-screen keyboard. The following parameters can be set:
- initial text
- whether multi-line input is allowed
- length limit for the input string
- whether to capitalize the first letters of each word entered (convenient for entering proper names)
- whether to mask the input (if password input is implied)
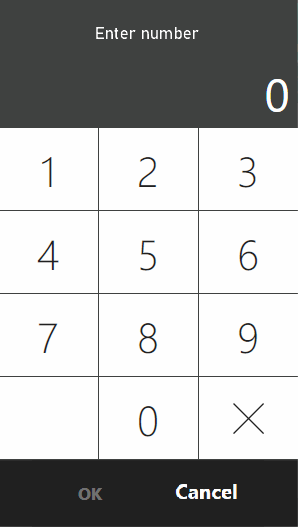
Dialog for Entering Numbers
To enter a number, you can use ShowInputDialog() with the parameter type = InputTypes.Number and an optional parameter initialValue – the initial value. To interpret the input result, you need to cast the returned IInputDialogResult to NumberInputDialogResult.
Dialog for Entering Numeric Strings
In addition to the method mentioned above, there is ShowExtendedInputDialog(). One of its parameters is the settings class ExtendedInputDialogSettings. If you set ExtendedInputDialogSettings.EnableNumericString = true, the user will be prompted to enter digits. Along with this setting, you can also set the explanatory text ExtendedInputDialogSettings.TabTitleNumericString. Unlike the previously mentioned input method, the entered data here is a string, allowing for “leading zeros” and large numbers exceeding int. To interpret the input result, you need to cast the returned IInputDialogResult to NumericStringInputDialogResult.
Example:
var settings = new ExtendedInputDialogSettings
{
    EnableNumericString = true,
    TabTitleNumericString = "Tab title for number input"
}
var dialogResult = viewManager.ShowExtendedInputDialog(
                "Window Title",
                "Subtitle explaining what the user needs to enter.",
                settings)
    as NumericStringInputDialogResult;
if (dialogResult == null)
    return;
// analyze result
Dialog for Entering Barcodes
The method ShowExtendedInputDialog() can be called with the setting ExtendedInputDialogSettings.EnableBarcode = true, which goes along with ExtendedInputDialogSettings.TabTitleBarcode. To interpret the input result, you need to cast the returned IInputDialogResult to BarcodeInputDialogResult.
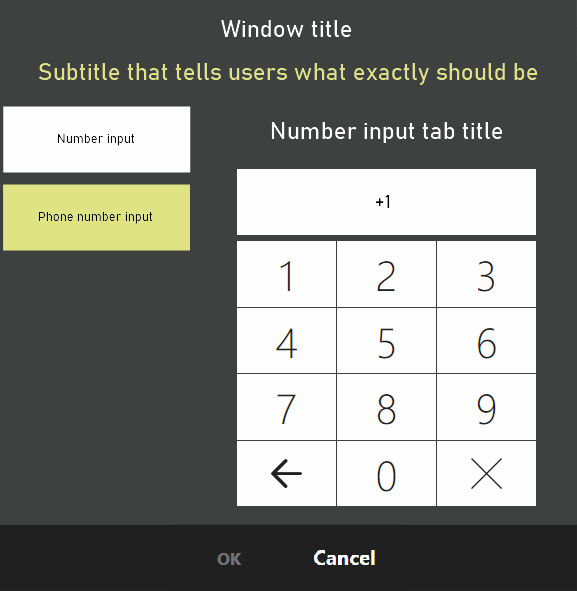
Dialog for Entering Phone Numbers
Another setting for ShowExtendedInputDialog() is ExtendedInputDialogSettings.EnablePhone = true, which goes along with ExtendedInputDialogSettings.TabTitlePhone. In this case, validation of the data entered by the user will occur according to the settings in the system for phone numbers, and the input field will have a mask with the country code. Until the entered data is valid, pressing “OK” will not be possible. To interpret the input result, you need to cast the returned IInputDialogResult to PhoneInputDialogResult.
Dialogs with Card Swiping Capability
Card swiping can be enabled in both ShowInputDialog() and ShowExtendedInputDialog(). In the first case, you need to specify
type = InputTypes.Card, in the second – ExtendedInputDialogSettings.EnableCardSlider = true. In both cases, to interpret the input result, you need to cast the returned IInputDialogResult to CardInputDialogResult.
Additional
Input methods in ShowInputDialog() and ShowExtendedInputDialog() can be combined by combining available settings. For example, you can ask the user to enter a number or swipe a card. In this case, the returned result will need to be attempted to cast to each of the expected result types.
Example 1 (code):
var result = viewManager.ShowInputDialog(
    "Enter room number or swipe card",
    InputDialogTypes.Number | InputDialogTypes.Card);

if (result is NumberInputDialogResult numeric)
    Operations.AddNotificationMessage($"Entered number {numeric.Number}", "SamplePlugin");
if (result is CardInputDialogResult card)
    Operations.AddNotificationMessage($"Card with track {card.FullCardTrack}", "SamplePlugin");
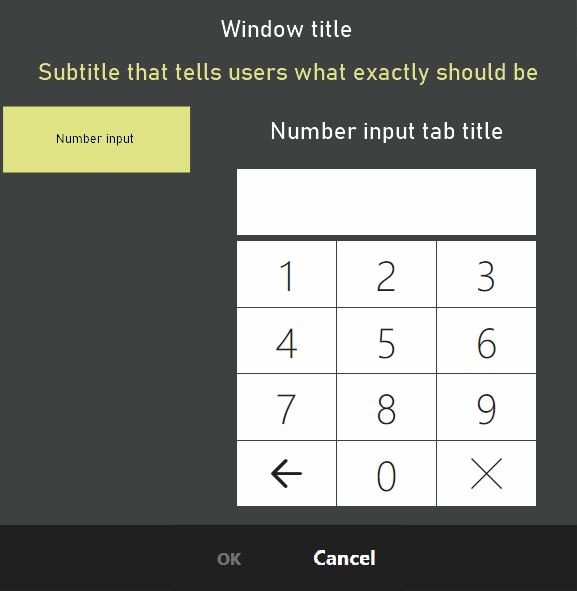
Example 2 (possible appearance and settings):
var settings = new ExtendedInputDialogSettings
{
    EnableBarcode = true,
    TabTitleBarcode = "Tab title for barcodes",
    EnableCardSlider = true,
    EnableNumericString = true,
    TabTitleNumericString = "Tab title for number input",
    EnablePhone = true,
    TabTitlePhone = "Your explanatory text for the phone"
};
var dialogResult = viewManager.ShowExtendedInputDialog(
    "Window Title",
    "Subtitle explaining what the user needs to enter.",
    settings);
A Bit More About UI
The plugin can show its own dialog windows, but this is no longer part of the SyrveFront API. There is a separate article on this topic.