Payment Screen
v7 Buttons can be added to the payment screen that can perform operations using the current order object and also change their state.
How does it look in SyrveFront?
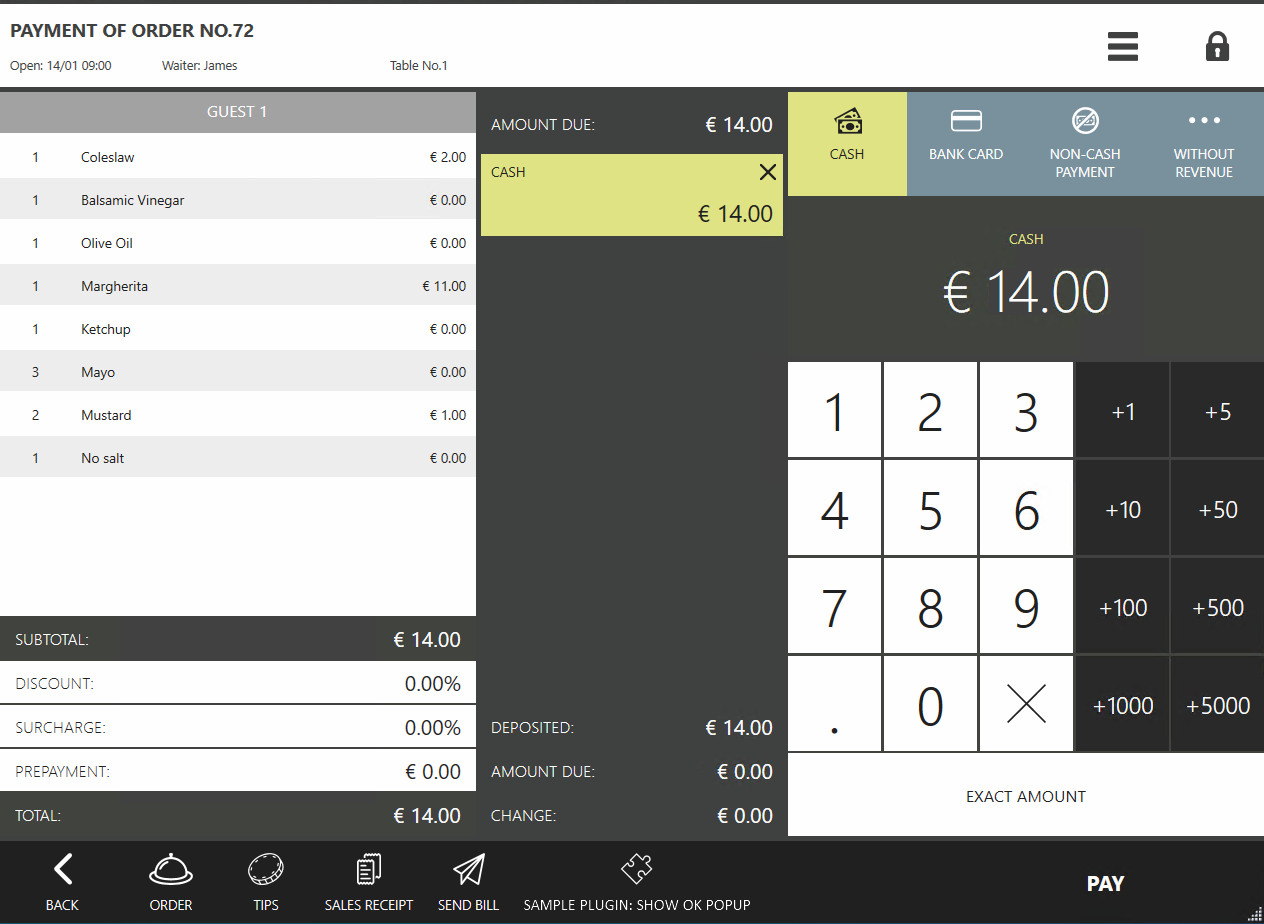
For example, here is how the button “SamplePlugin: Show OK popup” looks, added by the SamplePlugin from the SDK.
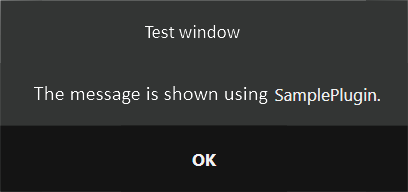
Suppose the plugin shows a window with a message (see the article API Dialogs).
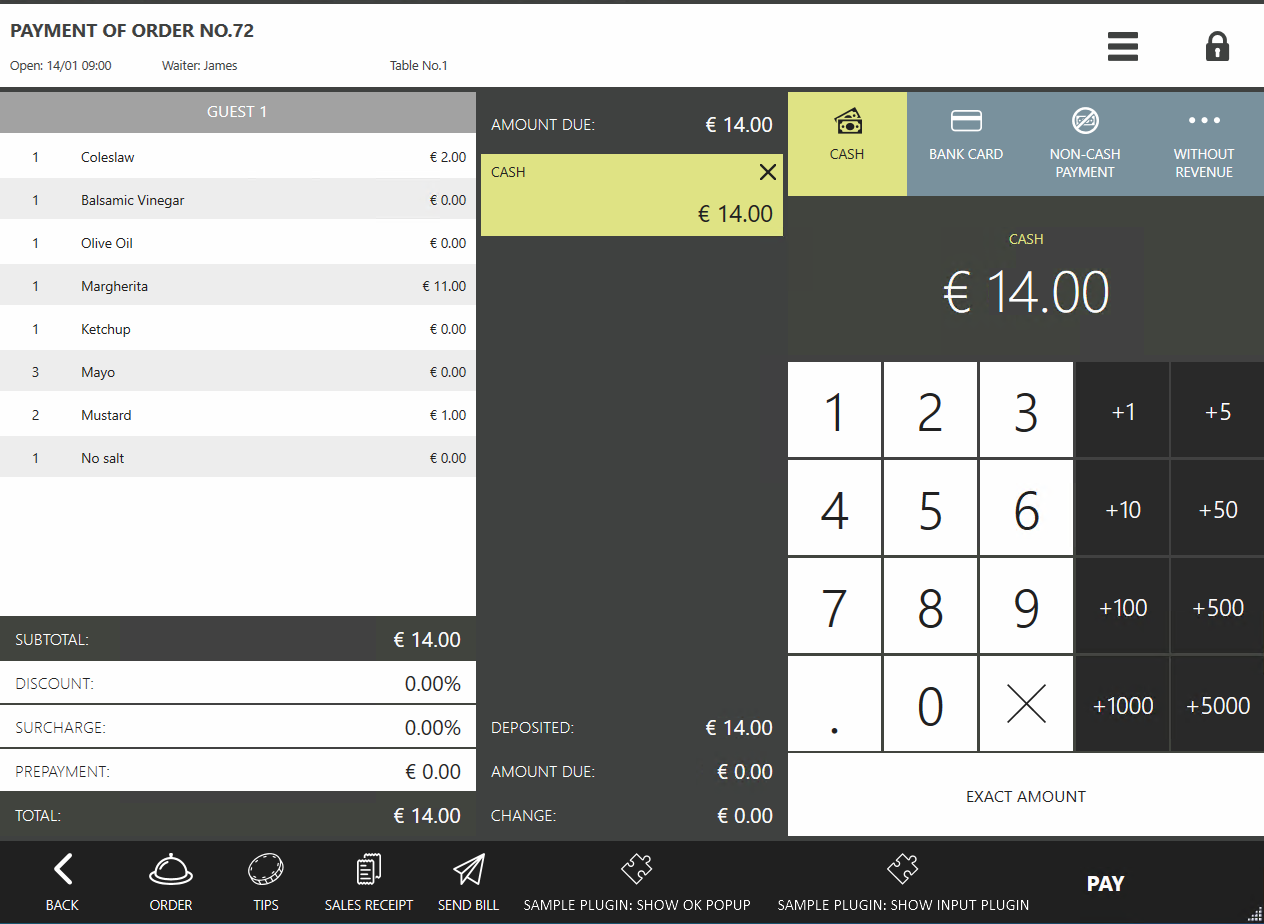
The plugin can add several buttons to the payment screen at once.
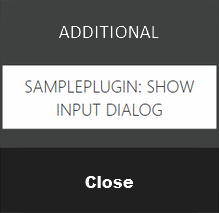
For example, using the SamplePlugin SDK, 2 buttons were added: “SamplePlugin: Show OK popup” and “SamplePlugin: Show input dialog”.
There may be a situation where there is not enough space for the buttons. In this case, instead of the buttons that did not fit, the button “ADDITIONAL” will appear.
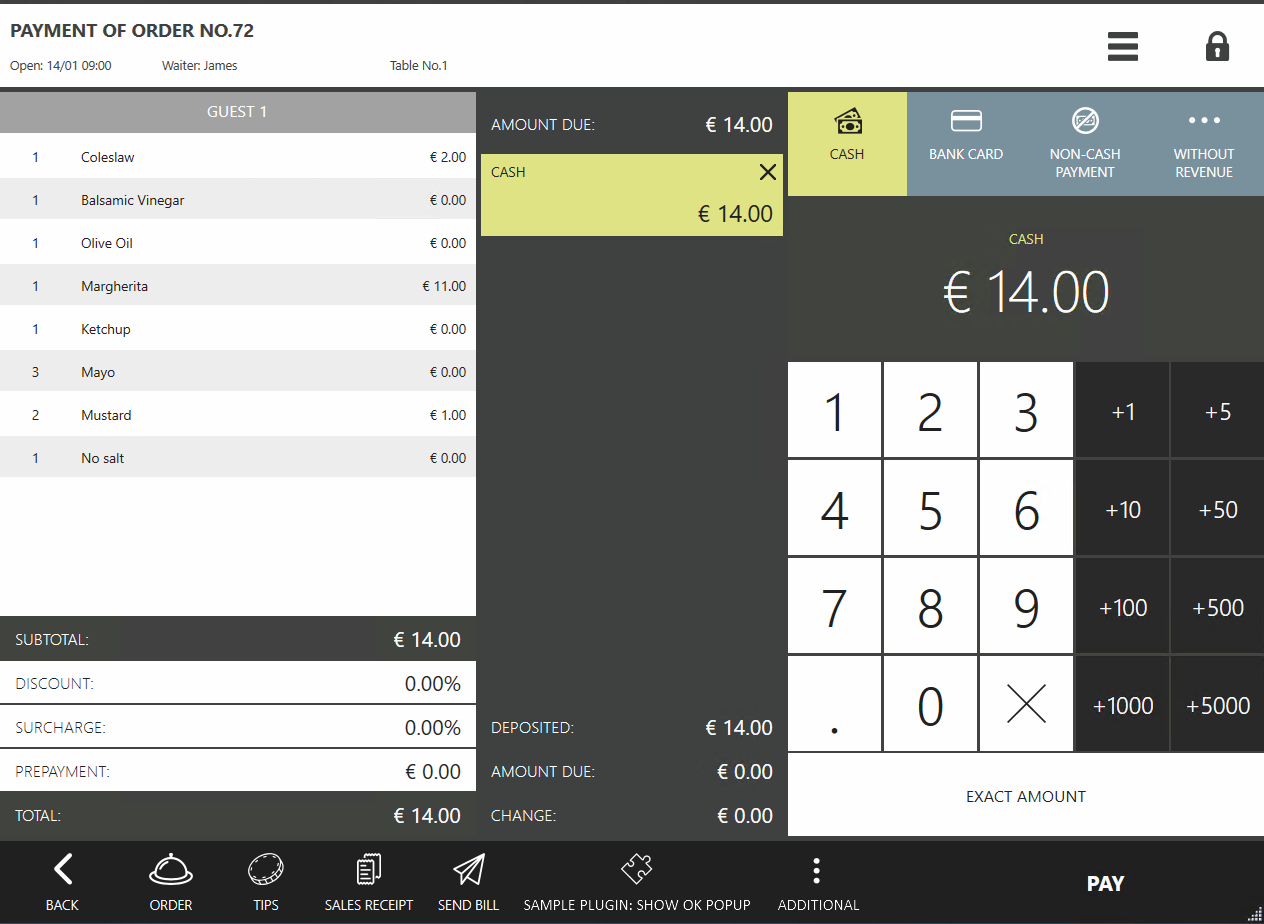
If there is only one button, the button “ADDITIONAL” will not appear in any case.
Different plugins can add their own buttons.
When the button “ADDITIONAL” is pressed, a list of all the buttons that did not fit will be displayed.
How to add your own extensions?
Step 1: Register a handler for the payment screen:
// Registering an action on the payment screen
subscription = PluginContext.Operations.AddButtonToPaymentScreen("SamplePlugin: Show ok popup", false, true, ShowOkPopupOnPaymentScreen);
The function for registering an operation on the payment screen AddButtonToPaymentScreen() takes 5 arguments:
string caption— the name of the button, displayed on the UI.bool isChecked— whether the button is checked.bool isEnabled— whether the button is available for pressing.Action<(IOrder order, IOperationService os, IViewManager vm, (Guid buttonId, string caption, bool isChecked, string iconGeometry) state)> callback- the function that will be called when the button is pressed.string iconGeometry— the image of the button (seesyntax).
The button press function takes the order object IOrder, an instance of IViewManager for showing windows, as well as the current state of the button - (Guid buttonId, string caption, bool isChecked, string iconGeometry) state.
Step 2. Describe the handler for the added button:
private void ShowOkPopupOnPaymentScreen((IOrder order, IOperationService os, IViewManager vm, (Guid buttonId, string caption, bool isChecked, string iconGeometry) state) info)
{
    info.vm.ShowOkPopup("Test Window", "Message displayed using SamplePlugin.");
}
Examples of implementations can be found in the SDK SamplePlugin project in the ButtonsTester class.
How to update the button state?
You can update the state of a previously added button at any time using the function UpdatePaymentScreenButtonState(), which takes 5 arguments:
Guid buttonId— the identifier of the button, which can be obtained from the return value of the functionAddButtonToPaymentScreen().string caption— an optional argument. If specified, the button’s name will be updated.bool? isChecked— an optional argument. If specified, the button’s state will be updated - whether it is checked or not.bool? isEnabled— an optional argument. If specified, the button’s state will be updated - whether it is available for pressing or not.string iconGeometry— an optional argument. If specified, the image on the button will be updated.
To track changes on the payment screen, you can subscribe to the event PaymentScreenUpdated. The event is triggered when a payment type is added, changed, or removed, when the payment amount is changed, as well as when an EInvoice is added or removed. This event has 2 arguments:
PaymentScreenUpdatedContext context- the current state of the payment screen for the order.IViewManager vm- an instance ofIViewManagerfor showing windows.